

Install and setup
Mounted, powered, playing.
One guide per way of mounting. Each has what you need, the steps in order with a 3D walkthrough, the first power-on checks and quick fixes.

13 models · 6 steps
Installing a wall display
A wall display hangs on a flat bracket fixed to the wall. Most of the work is choosing the wall fixing and planning where the power and network cables come out.
Open the guide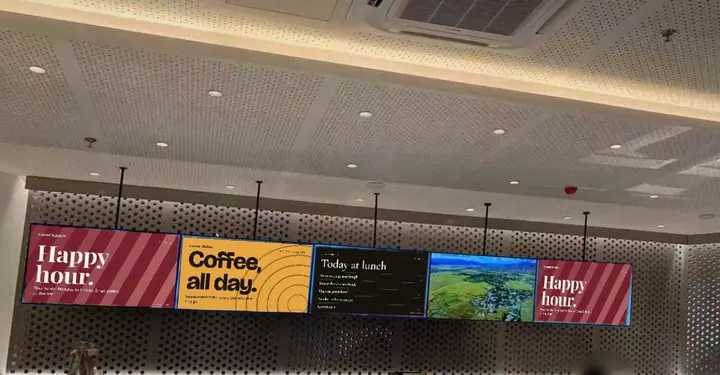
1 model · 5 steps
Installing a stretched bar display
A stretched bar is long and shallow, so it shows any tilt. Level matters more than on a standard screen, and the cable exit should sit behind it.
Open the guide
1 model · 6 steps
Setting up a floor totem
A totem arrives in one piece and stands on its own base. The job is moving it safely, standing it level, and closing and locking the service door.
Open the guide
2 models · 4 steps
Setting up a table player
Table players sit on a table, counter or reception desk. There is nothing to mount: charge it or plug it in, load your content and place it.
Open the guide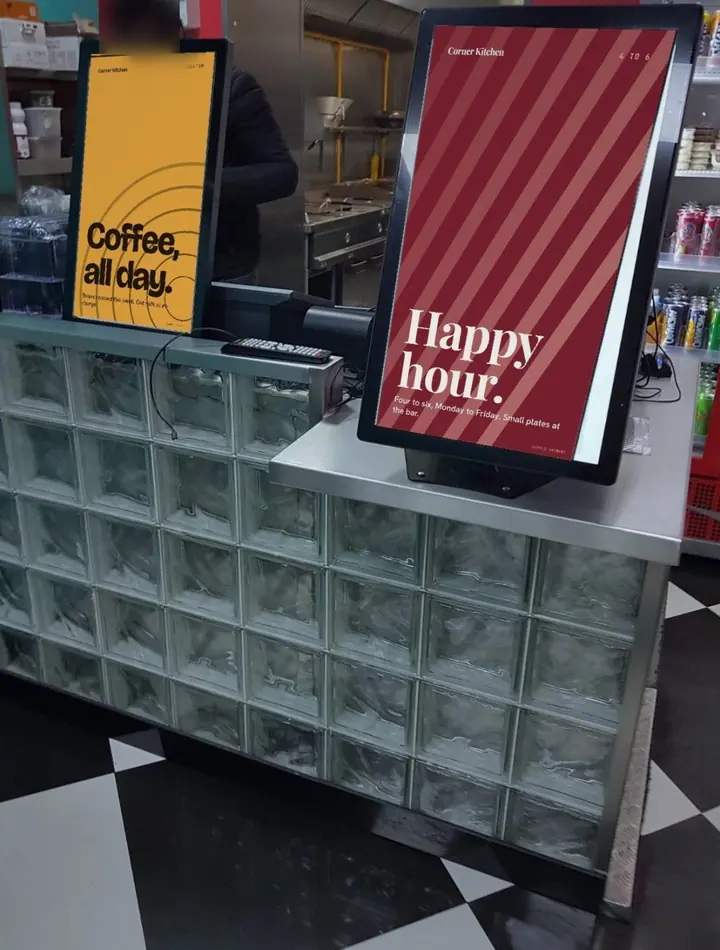
2 models · 4 steps
Setting up a desk or counter display
Desk displays stand on their own base or kickstand, on a reception desk, a counter or a meeting room table. Set the angle, route the cable and load content.
Open the guide
1 model · 5 steps
Installing a pole-mount display
A pole-mount display clamps to a post, a rail or a stand. The clamp holds it; the angle joint sets where it faces.
Open the guideEvery model
The first power-on, in five checks.
Whatever the mount, finish with these before you hand the screen over.
- It shows a pictureThe screen lights and starts within a minute or two of power-on.
- The content playsEvery picture and video on the card or stick shows, in the order you set.
- It restarts by itselfSwitch it off at the wall and back on. It should come back to the content on its own.
- Nothing is loosePull gently on the screen: it does not move on its bracket, clamp or stand.
- Cables are safeNo cable is pinched, pulled tight or across a walkway.
Panel-mount series
The eight panel-mount sizes have their own flush-mount cut-outs and player software. Their pages carry the cut-out, and the player install steps are here.
Need it set up for you?
Say so in your quote: tell us where it goes and how it gets power, and we will say what we can do.
Ask for a quote