

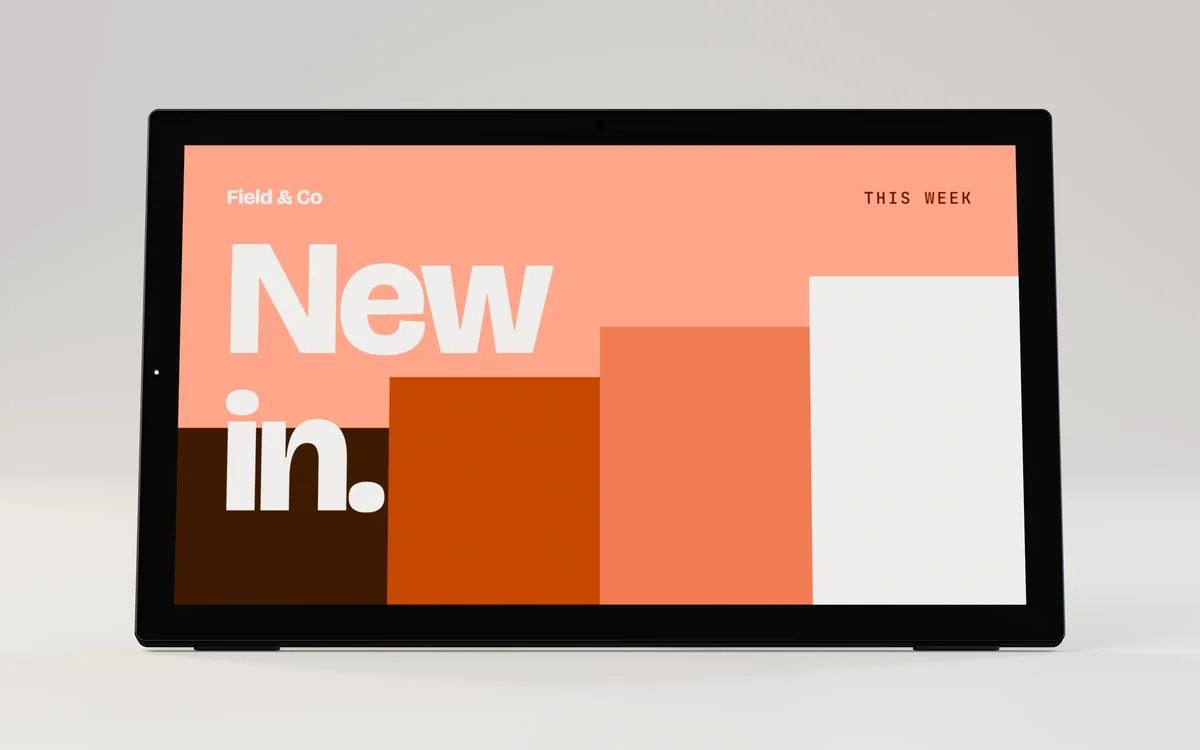

Desk and counter · series E
15.6 in desk display with kickstand
1920 × 1080 · 300 nits · No touch
IMDS-DK156-E
Install guide
Desk displays stand on their own base or kickstand, on a reception desk, a counter or a meeting room table. Set the angle, route the cable and load content.

Install film
3D animation from the product CAD, sample artwork, for the 15.6 in desk display with kickstand. No sound; each step is written out under the film, and pressing one plays from there.
 01
Swing the kickstand out from the back of the display.
 02
Set the display down on a flat, steady surface near a power outlet.
 03
Connect the power cable between the display and the outlet.
 04
Insert the microSD card or USB stick with your pictures and videos.
 05
Switch on the power and the screen lights up.

Step 1 of 4
15.6 in desk display with kickstand, from its CAD. Other models in this guide follow the same steps.
Fold out the kickstand or fit the base to the display, following the stand type.
Tilt the screen to the angle people read it from, and check it stands firm.
Connect the power supply, and the network cable if used, then route the cable to the desk edge.
Insert the USB stick or microSD card, whichever your model takes (its page lists the slots), with your content and follow the screen to start the show.
First power-on
If something is wrong
Check the power at the outlet, the connector at the unit and any power switch. Try a known working outlet.
Check the card or stick is fully inserted and the files are pictures (JPG, PNG) or MP4 video. Try a smaller test file.
Rotation is a setting in the display. Set it once and the screen keeps it.
Re-check the bracket with a level. On a stand, check the surface. Do not pack under a bracket; refit it.
Email [email protected] with the model code on the label and a photo, and we will help.
Installed
Example applications of this mount. The screens pictured may be other models.



This guide covers
Each model page has its own drawing and spec values. Where a step differs for a model, its spec sheet and the note in its box come first.

