



Wall · series A
10.1 in wall display
Specification with your quote
IMDS-W101-A
Slim wall display · series D
Model IMDS-WS185-D
Sold by quote. Your quote states the price, lead time and warranty in writing.
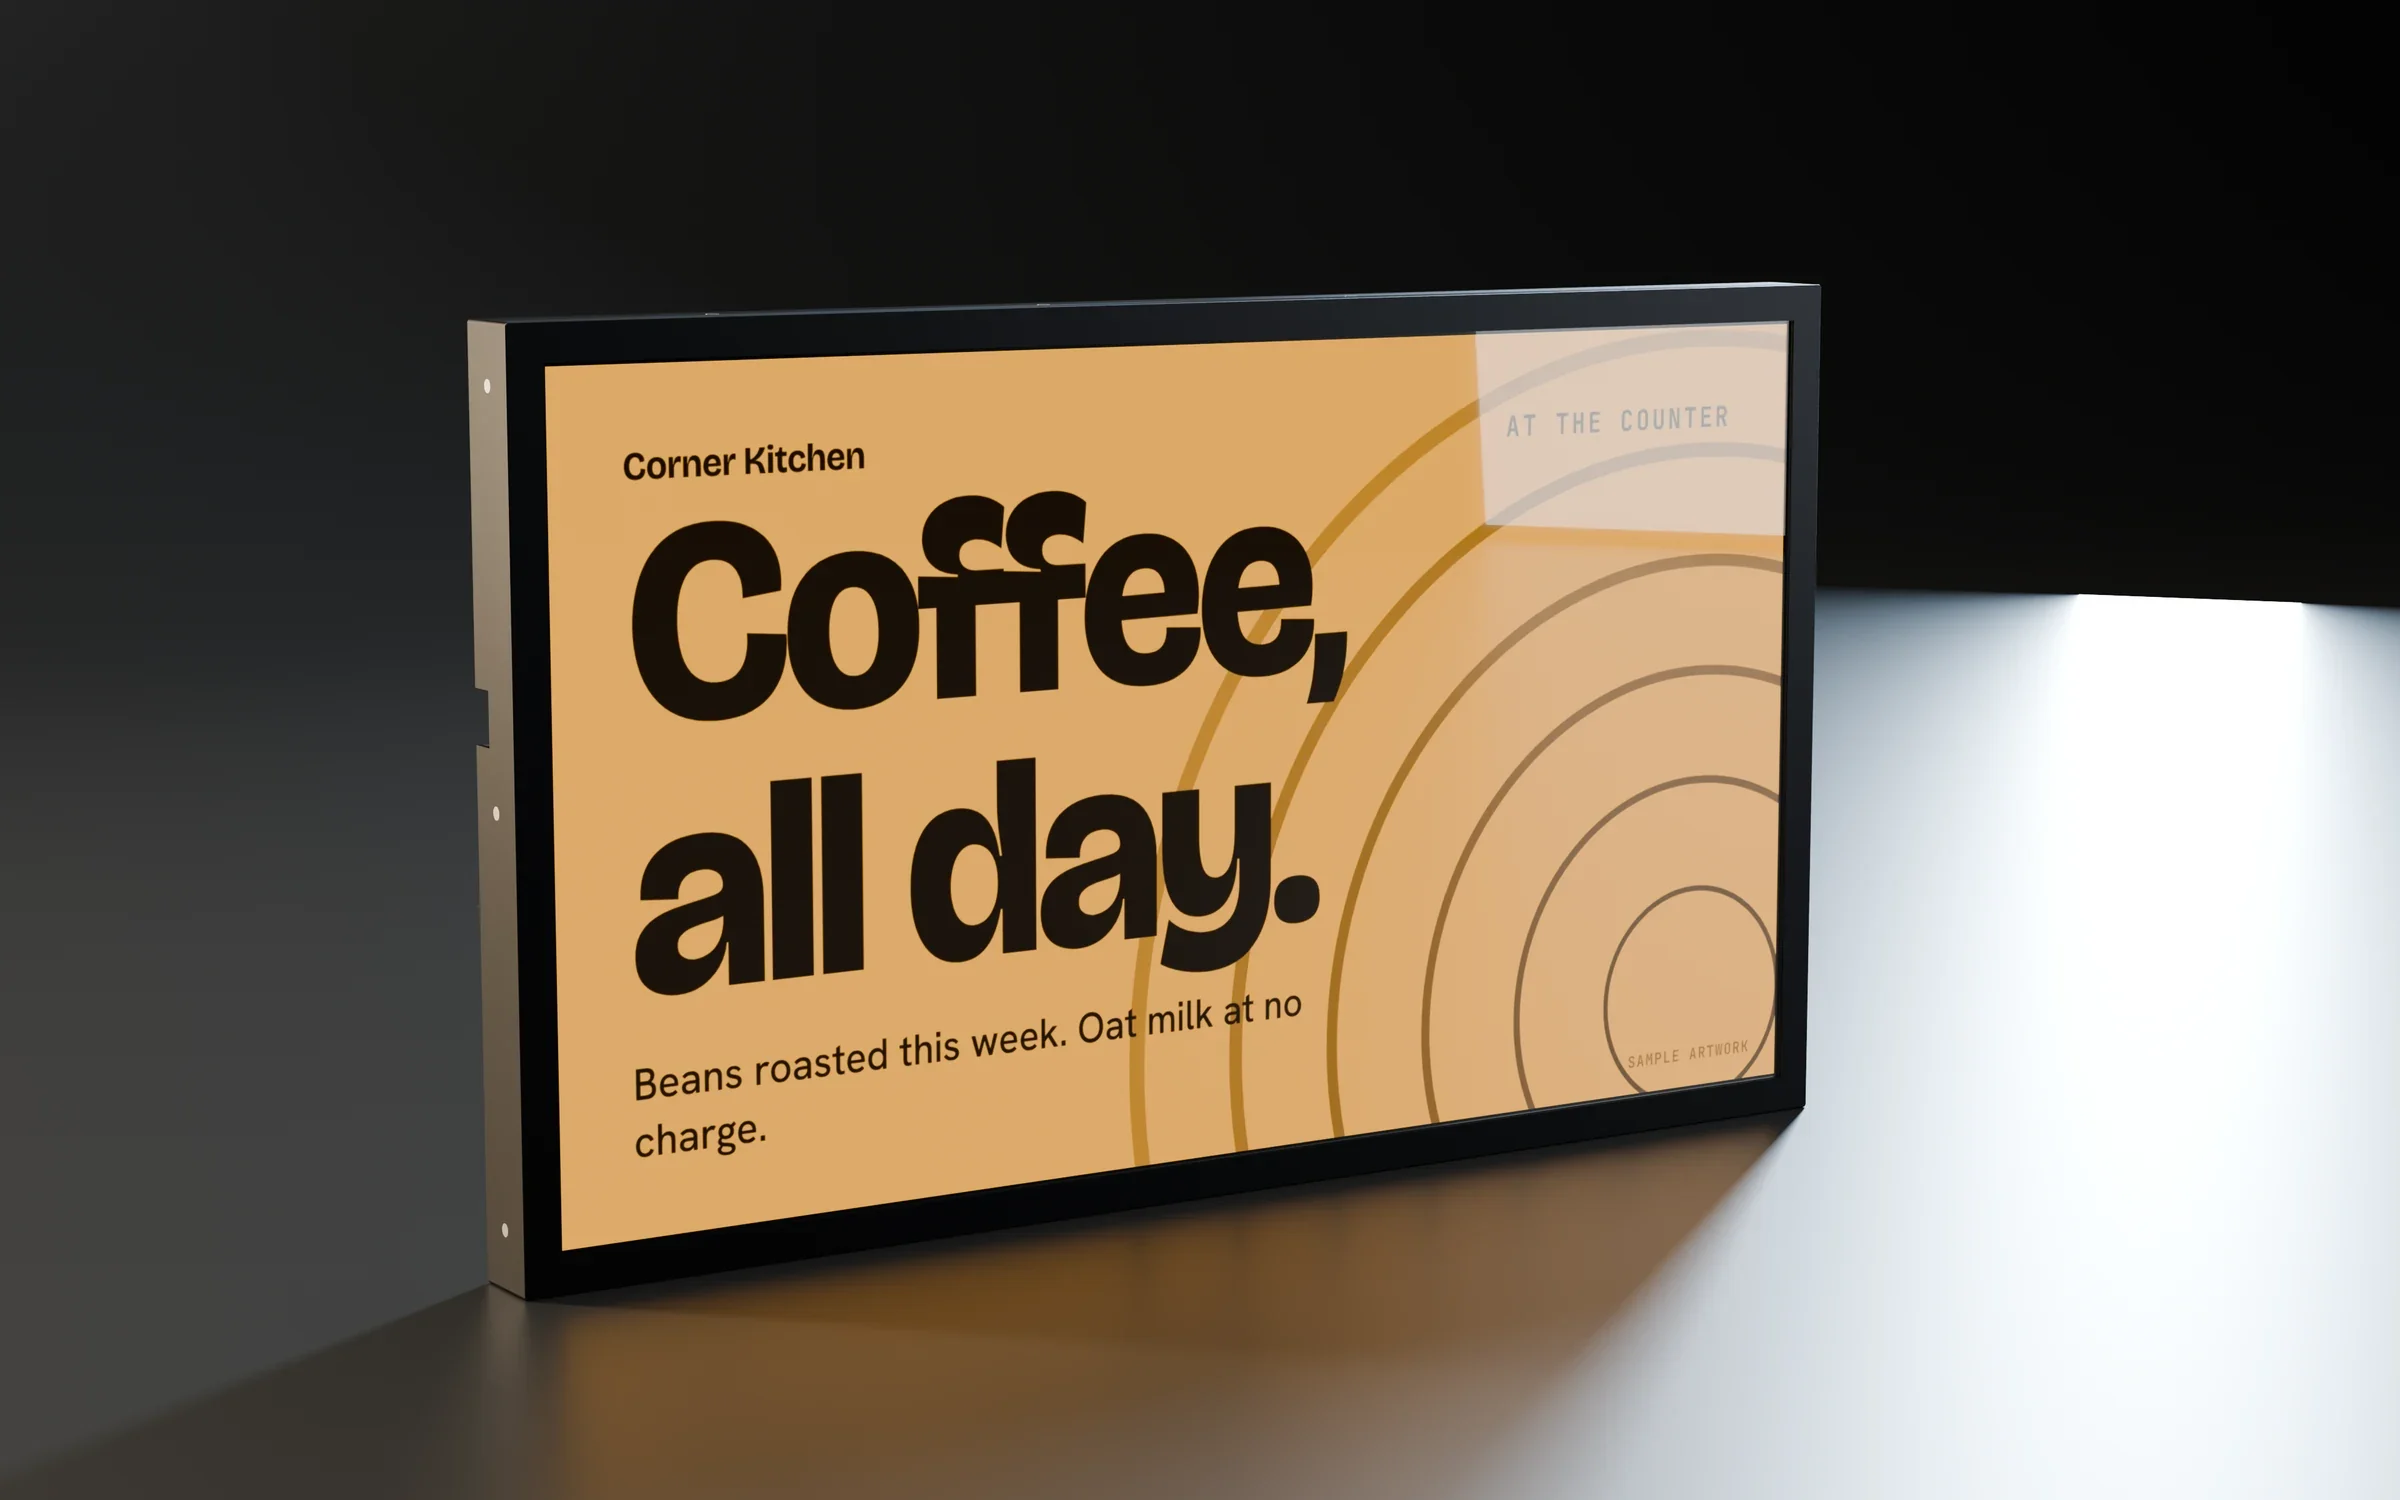

Every side
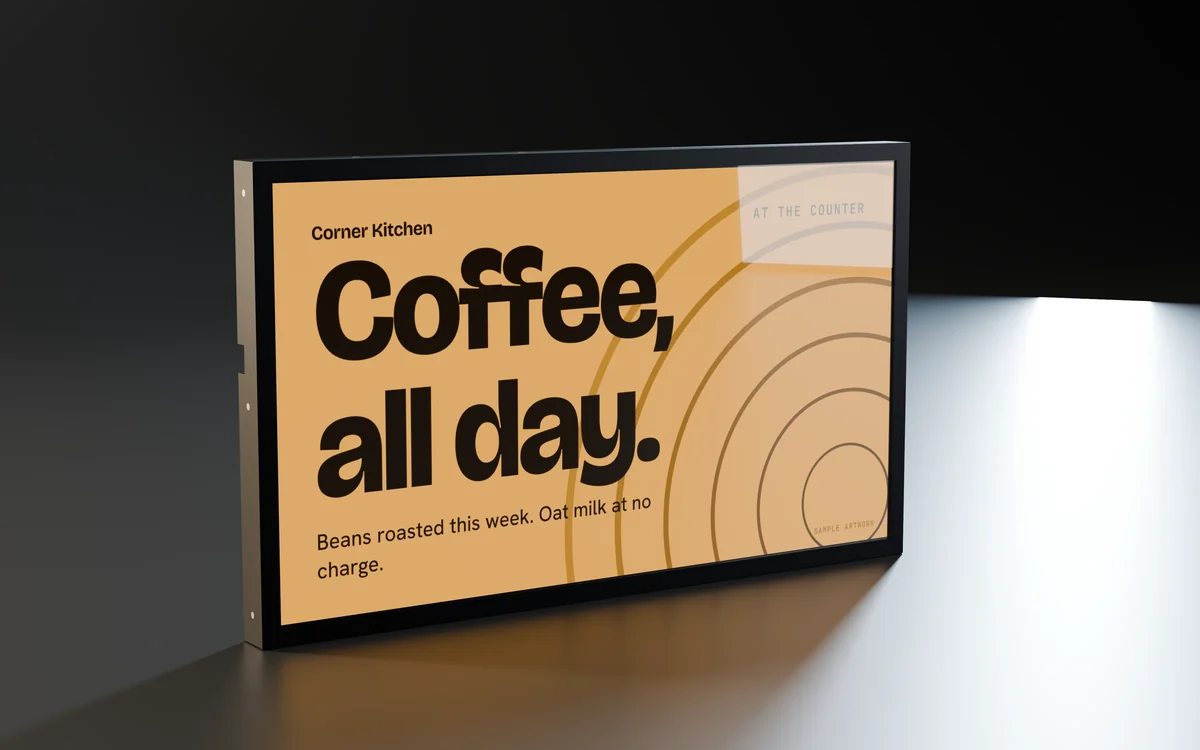
Rendered from this model's CAD with our sample artwork. Select a picture to see it full size.
 Front
 Installed
 Side profile
 Rear
 Parts separated
 Connectors, close up
 Corner and bezel, close up
 Cut-away view
 Portrait
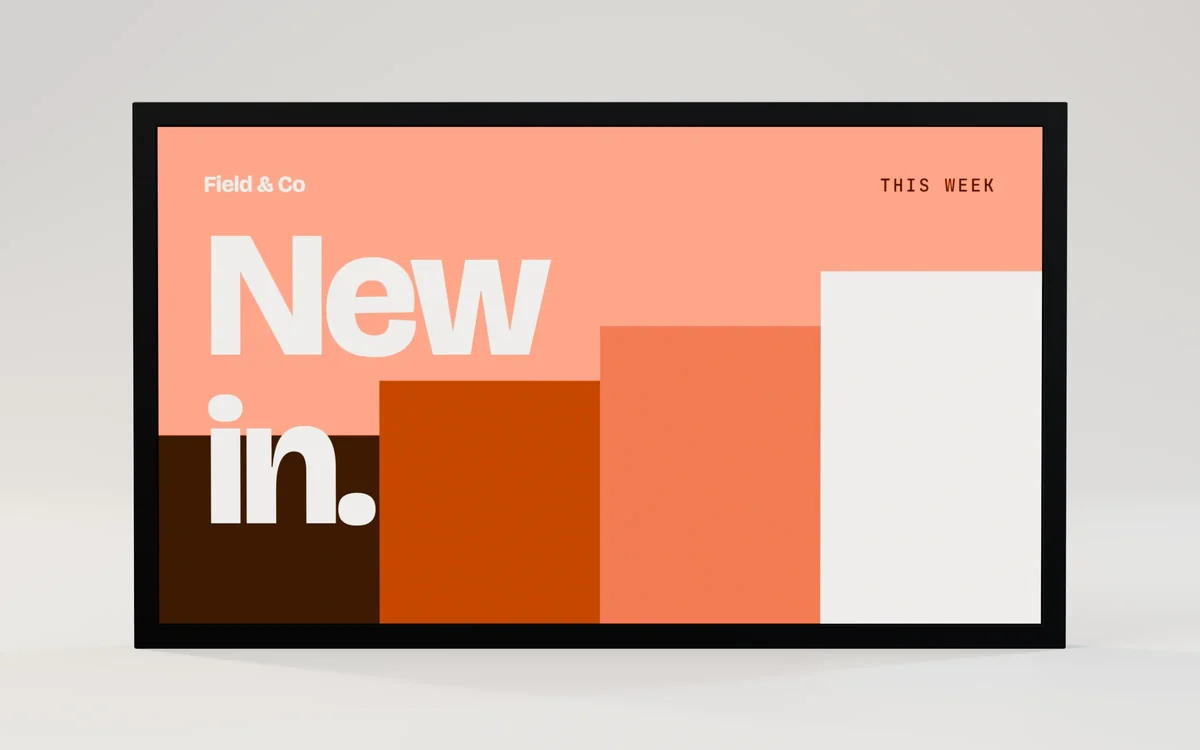
Photographs of the product, restaged on our set with our artwork on the screen.


In 3D
The model is this product's CAD, simplified for the browser. Drag to turn it, pinch or Ctrl and scroll to zoom, or use the arrow keys. Separate the parts to see how the front, the panel and the rear housing go together.
Screen in the model: 409 × 230 mm. Ports, buttons and vents follow the maker's drawings; use the dimension drawing for anything you cut or fix.
Specification
Every value below is from this model's spec sheet or drawing. Where two of the maker's documents disagree, we show "we confirm with your quote" rather than pick one.
From the maker's packing list. We confirm what ships with your quote.
Not rated for outdoor use. Need touch, a different brightness or another option? Say so in the quote.
Dimensions
Third-angle views in millimetres, drawn from the product CAD. Use the numbers on the drawing for planning; check the drawing that comes with your quote before you cut anything.

Install
A wall display hangs on a flat bracket fixed to the wall. Most of the work is choosing the wall fixing and planning where the power and network cables come out.
 01
Hold the bracket level at the planned height and mark its holes. Check with the level again after marking.
02Drill for your fixings, then screw the bracket to the wall. Pull on it firmly: it should not move at all.
03With the display face down on a soft cloth, connect power and, if used, the network cable. Route them so they do not pinch between the display and the wall.
 04
Lift the display onto the bracket, hooks over the bracket edge, and lower it until it seats. Check it is seated on every hook before you let go.
 05
Fit the locking screws where the bracket has them, so the display cannot be lifted off.
 06
Switch on. Insert the USB stick or microSD card, whichever your model takes (its page lists the slots), with your pictures and videos, and follow the screen to start the show.
The full guide, with the 3D walkthrough About 30 to 60 minutes per screen with the cable route ready. One person up to about 32 in; two people for 43 and 55 in.
Where it goes
Example applications of this kind of screen. These are not our customers' sites, and the screens in them may be other models.
Compare
Wall · series A
Specification with your quote
IMDS-W101-A


Wall · series A
1920 × 1080 · 250 nits · No touch; touch can be added
IMDS-W156-A


Wall · series B
1920 × 1080 · 300 nits · No touch
IMDS-W156-B


Wall · series C
1920 × 1080 · 250 nits · No touch
IMDS-W156-C
Tell us how many, where they go and how they get power. We reply by email with the price, lead time and warranty in writing.