Install guide

Hanging a window display.

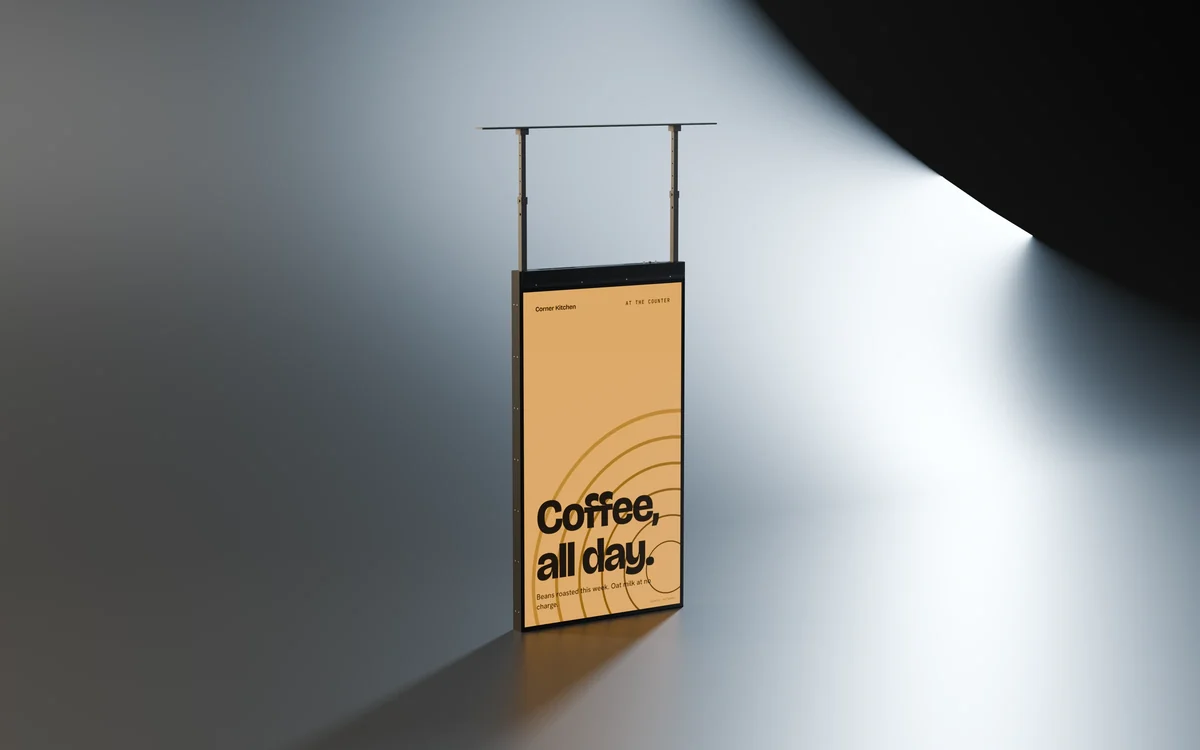
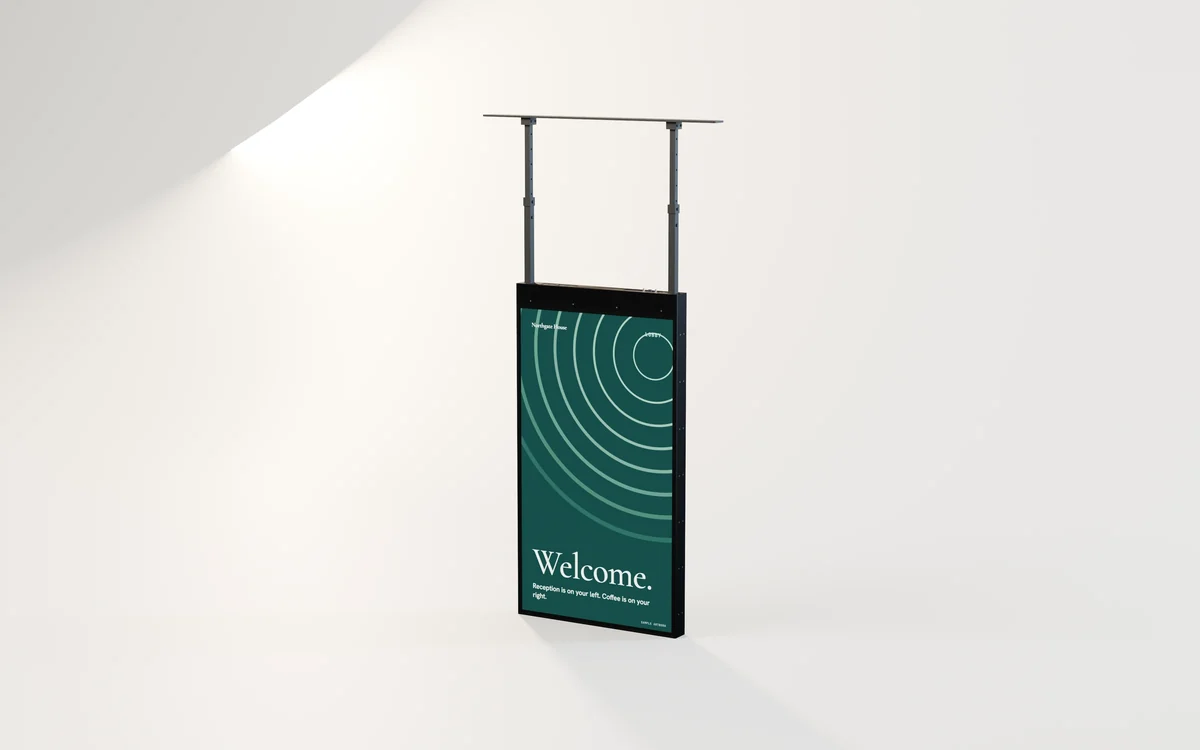
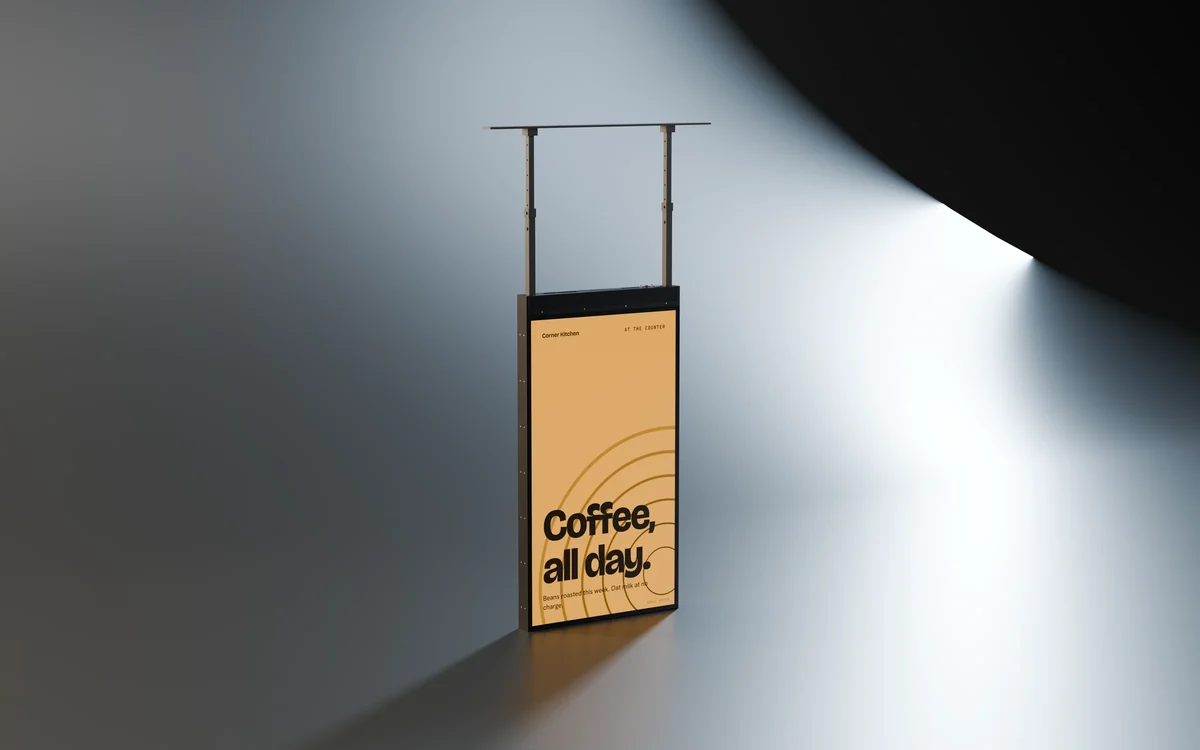
A hanging display comes down from the ceiling on two rods, usually just inside a shop window, so the street sees one face and the shop sees the other. All the work is overhead: the ceiling fixings carry the whole weight, and the cables come down beside the rods to the top of the display.
Time
About 1 to 2 hours, most of it at the ceiling
People
Two people on stable platforms: one holds the display while the other connects it to the rods
Steps
5
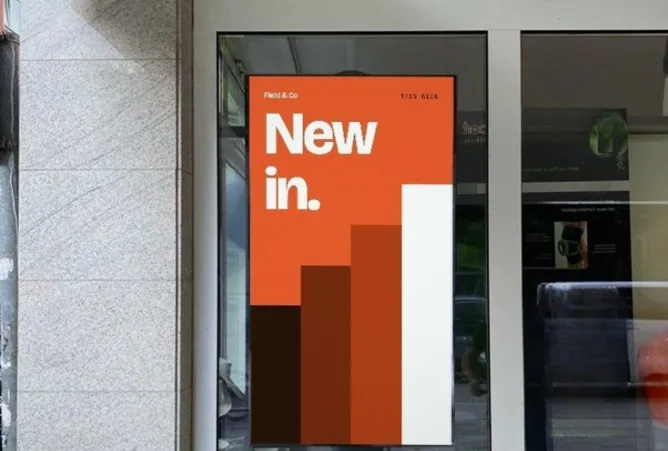
A portrait screen in a shop window showing a bright orange new arrivals message.
Example application. The screen pictured may be another model.

What you need

  • The display, its ceiling rail and its two telescopic rods
  • Ceiling fixings rated for the display weight and chosen for your structure (the weight is on the spec sheet for that model, or in your quote where the sheet gives none)
  • A drill and bits for the ceiling
  • A tape measure and a level
  • Two ladders or platforms rated for the work
  • Power at the ceiling above the screen position, and a network point if you use one
  • A USB stick or microSD card with your content

Before you start

  1. Fix to the structure: a concrete slab, a steel beam or a timber joist. A suspended ceiling grid or tile cannot carry a screen; fix through it to the structure above, or have a support frame fitted.
  2. Choose the drop. The telescopic rods set the height of the display; we confirm the drop range for your model with your quote. Keep the bottom edge above head height and clear of any door swing.
  3. In a window, leave a gap to the glass for air and for cleaning both. The street side faces daylight, so turn the 3000-nit face to the glass; we confirm which face that is with your order.
  4. Bring power and network to the ceiling above the display: the connectors are on the top bar, and nothing should hang loose below it.

Install film

Watch it once, then follow the steps.

3D animation from the product CAD, sample artwork, for the 43 in hanging window display. No sound; each step is written out under the film, and pressing one plays from there.

  1. 01

    Mark the ceiling

    Hold the ceiling rail in place, square to the window, and mark its fixing holes.

  2. 02

    Fix the ceiling rail and rods

    Fix the rail into the structure, test it, then fit both rods at the same length.

  3. 03

    Connect the cables

    Before lifting, run the cables down beside a rod to the top bar, connect them and insert your content.

  4. 04

    Hang it

    Lift the display onto both rods and check each connection is locked before letting go.

  5. 05

    Level and power on

    Check it hangs level, then switch on: the content plays on both faces.

Step 1 of 5

43 in hanging window display, from its CAD. Other models in this guide follow the same steps.

  1. 01

    Mark the ceiling

    Hold the ceiling rail in place, square to the window and at the same distance from the glass along its length, and mark its fixing holes.

  2. 02

    Fix the ceiling rail and rods

    Drill and fix the rail into the structure, pull on it to test the fixings, then fit both telescopic rods and set them to the same length for your drop.

  3. 03

    Connect the cables

    Before lifting, run the power cable and, if used, the network cable down beside a rod to the top bar, connect them, and insert the card or stick with your content.

  4. 04

    Hang it

    With one person on each side, lift the display, connect it to both rods and check each connection is locked before letting go of the weight.

  5. 05

    Level and power on

    Check the display hangs level and square to the window, adjust a rod if needed, then switch on: the content plays on both faces.

First power-on

Check five things before you leave it.

  1. It shows a pictureThe screen lights and starts within a minute or two of power-on.
  2. The content playsEvery picture and video on the card or stick shows, in the order you set.
  3. It restarts by itselfSwitch it off at the wall and back on. It should come back to the content on its own.
  4. Nothing is loosePull gently on the screen: it does not move on its bracket, clamp or stand.
  5. Cables are safeNo cable is pinched, pulled tight or across a walkway.

If something is wrong

Quick fixes.

No picture

Check the power at the outlet, the connector at the unit and any power switch. Try a known working outlet.

The content does not start

Check the card or stick is fully inserted and the files are pictures (JPG, PNG) or MP4 video. Try a smaller test file.

The picture is the wrong way round

Rotation is a setting in the display. Set it once and the screen keeps it.

It does not sit level

Re-check the bracket with a level. On a stand, check the surface. Do not pack under a bracket; refit it.

Something else

Email [email protected] with the model code on the label and a photo, and we will help.

Installed

What the finished job looks like.

Example applications of this mount. The screens pictured may be other models.

A portrait screen in a shop window showing a bright orange new arrivals message.
Retail
A hanging portrait display in a cafe with a long wooden bar, showing a happy hour message.
Restaurants and cafes

This guide covers

2 models.

Each model page has its own drawing and spec values. Where a step differs for a model, its spec sheet and the note in its box come first.